Arty, armed, and dangerous, Fia is not only one of Deathloop’s most powerful Visionaries, but her quest, Afternoon Delight, can be one of the toughest too.
The initial objective involves finding 4 pictograms dotted around her studio, Fractured ImAge, in Fristad Rock around Noon.
Looking for specific pictures in an art studio filled with paintings and murals is a bit like finding a needle in a haystack, if there were lots of fake needles thrown in there as red herrings too.
Here’s how you can beat Fia, find the Pictograms, and work out the Fristad Rock bunker code.
Where to find Fia's Pictograms in Deathloop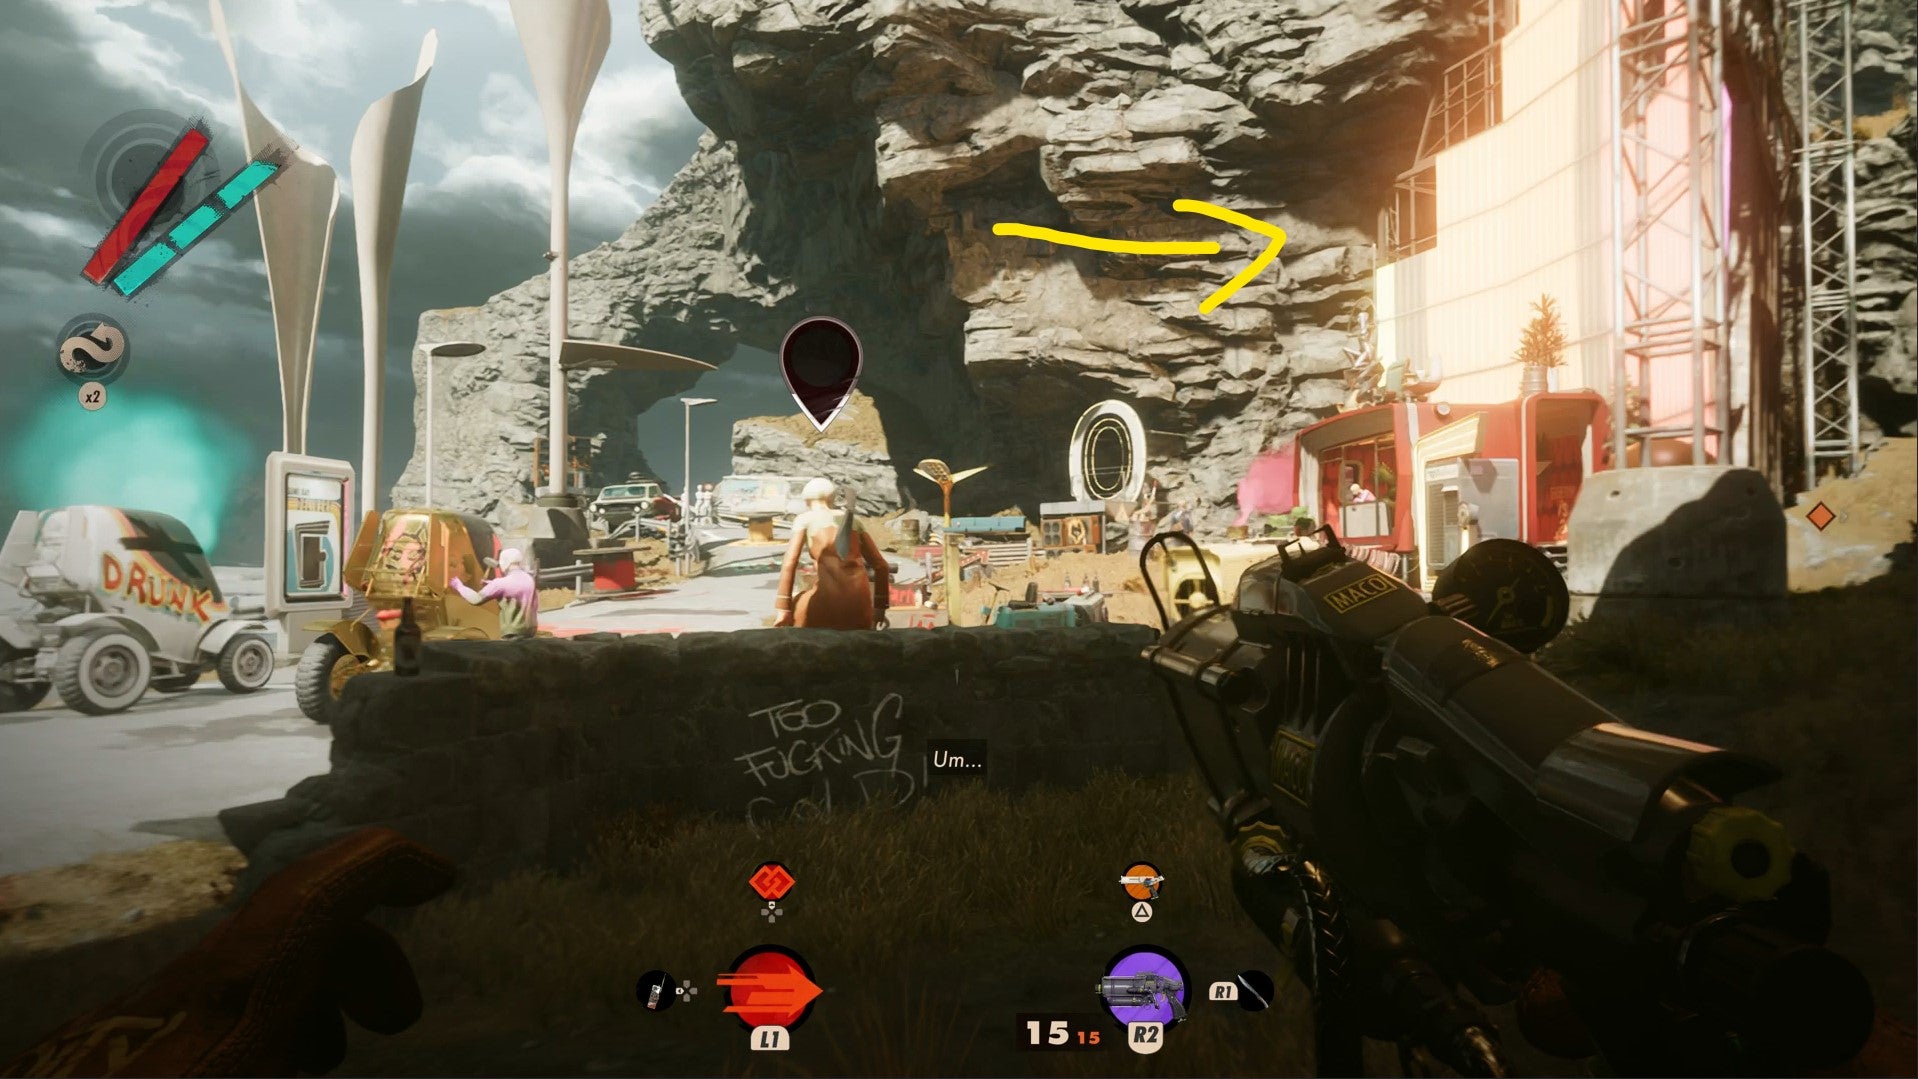
Head to Fristad Rock at noon to search Fia’s studio, bearing left out of Colt’s tunnels then turning right under the sign once you emerge.

In this next open area, you’ll see a junkyard filled with Eternalists and mines, but you’ll want to move left, up the hill, towards a ruined comms base and eventually, Fia’s studio.

Past the comms base, there’s a steep cliff, at the bottom of which you’ll find Fia’s Fractured ImAge.

You have two options here: focus solely on finding the pictograms and risk a swift end if you raise an alarm, or try to take out Fia quietly to give you more free reign.
The thing is, Fia’s studio is connected to a nuclear reactor. If you’re found and the alarm is raised, she’ll set off a nuclear reaction that destroys not just everyone in the vicinity, but the island as well, ending your day right then and there.
Also, you have to be very careful not to be seen by Fia at all. Her Havoc Slab buffs her health and damage massively, making her the most dangerous Visionary besides Juliana in a fight.

To beat Fia, from the entrance to Fractured ImAge, bear left and hack the camera, then take out the two Eternalists in the locker room.
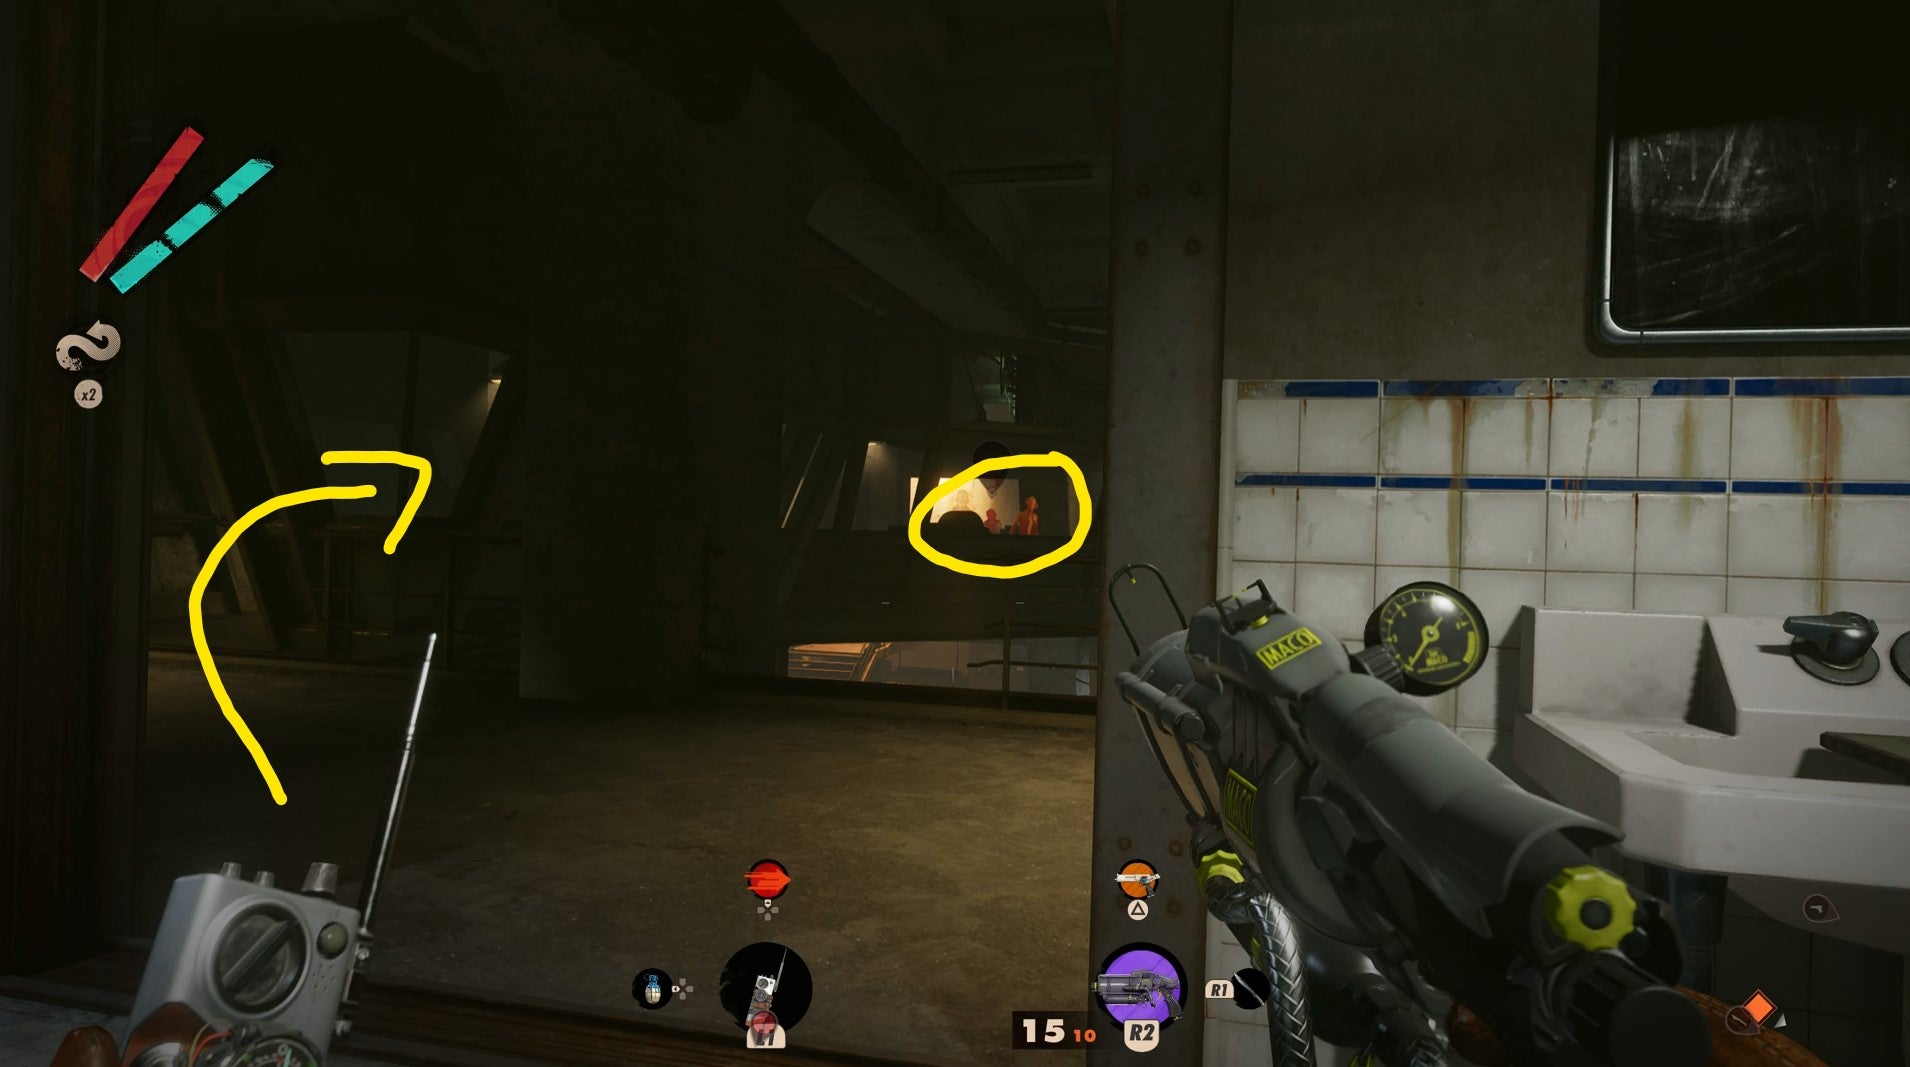
Open the door on the other side of the room, then survey the area. There are two more Eternalists on the same floor as you, on the left, that you can take out stealthily with a nail gun.
Follow that left-hand corridor to the other side of the building, where you see a mural of Colt and Juliana on the stairway wall.

At this staircase, turn right, then continue down the corridor, hacking the camera along the way.
Through the door on your right at the end is Fia’s bedroom, and Fia will be in the reactor room next to it.

Either sneak into the room and melee her, or burst in and dump out as much damage as possible before she can activate her slab.
Next, it’s time to find the pictograms.
First Pictogram - "It tends to the main hall"Working out the Pictogram clues can be a bit of a pain, and there are a lot of red herrings dotted around.
To find them, I’d suggest clearing the rest of the studio of Eternalists, so you’ve got free reign without Fia to blow you sky high.

Next, from the main hall with the reactor, follow the multicolored line out into the loading areas carved into the mountain.

The first Pictogram is on the wall to your left.
Second Pictogram - "Adds color to tools and schema"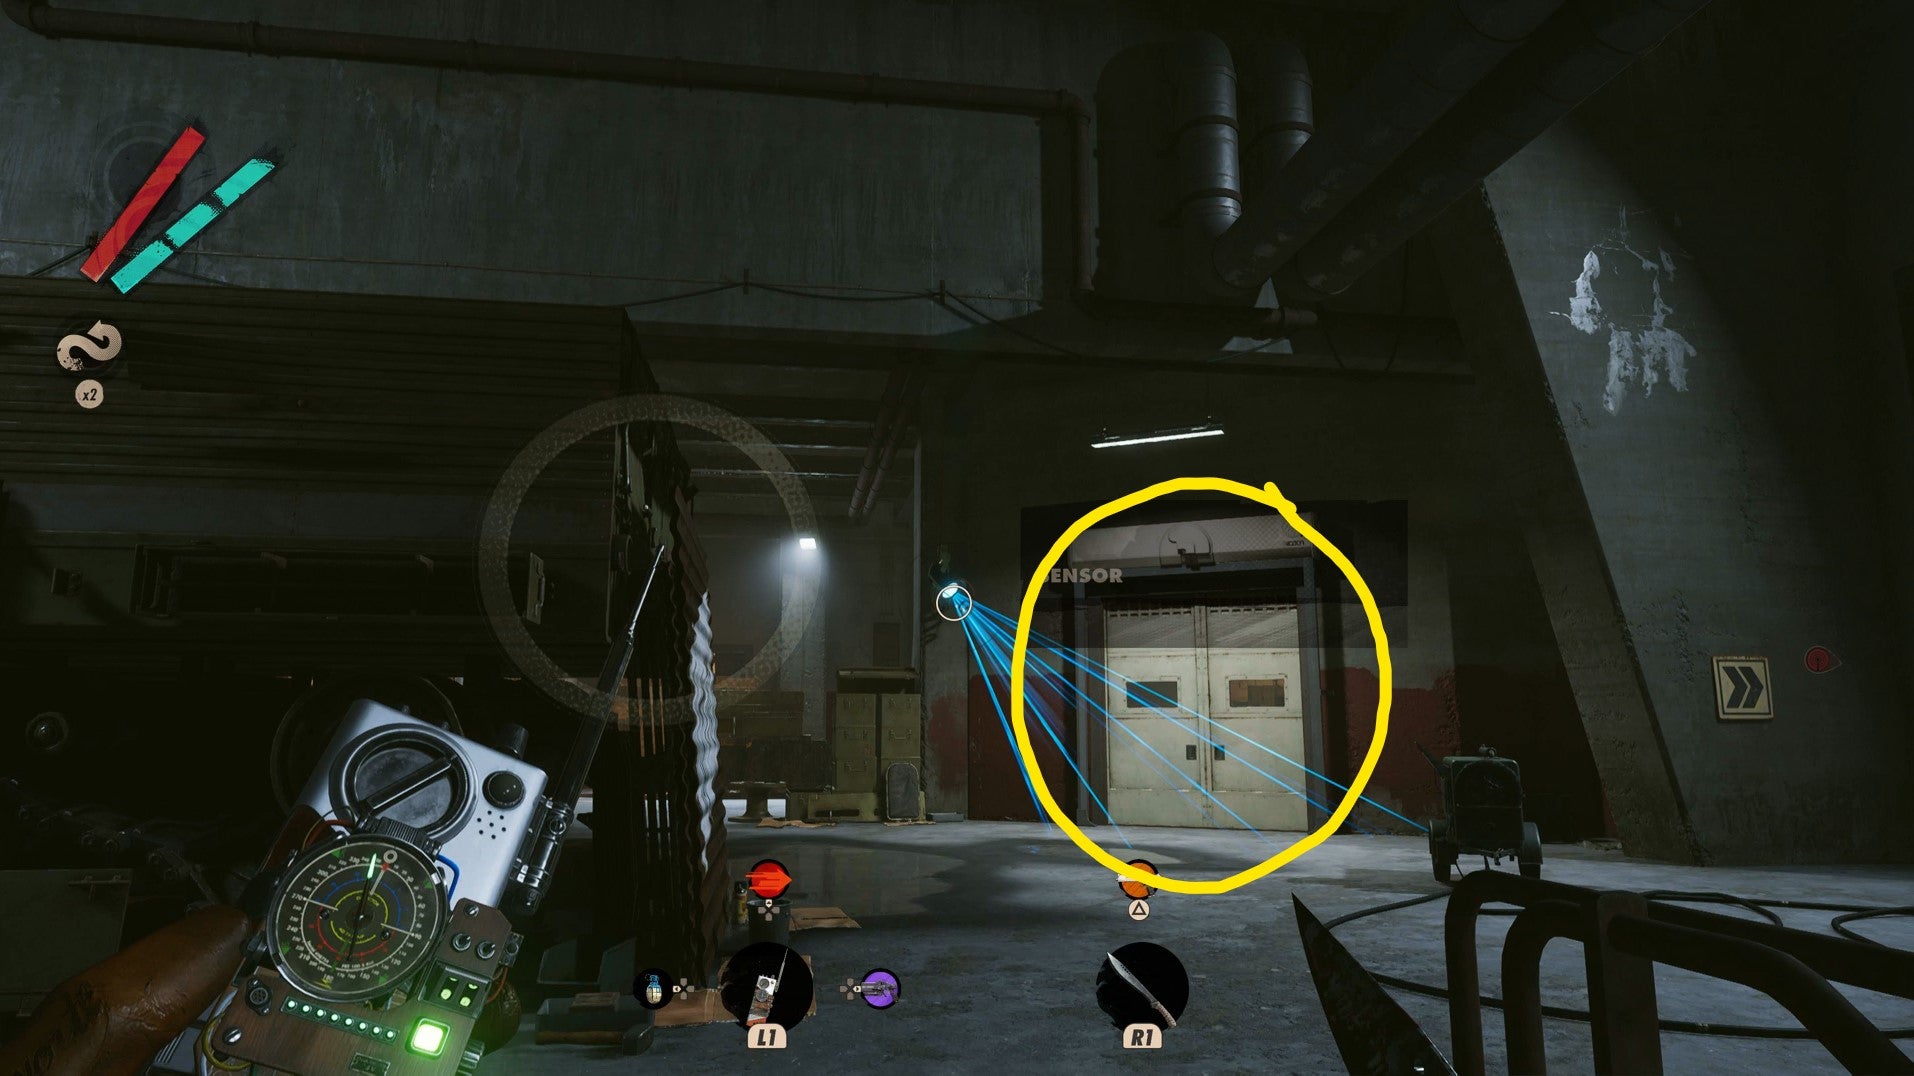
Next, in front of you, there’s a storage room guarded by a camera on the left at the end of the passage.

Inside on the wall is one of the Pictograms.
Third Pictogram - "Lubricates the shaft"
This Pictogram is found in the elevator shaft next to the storage room.

Break the boards across the door, then turn around inside and look up and to the left.
Fourth Pictogram - "Beneath the wheeled behemoth"
The final Pictogram is found in the crawlspace underneath the truck next to the storage room and elevator shaft.
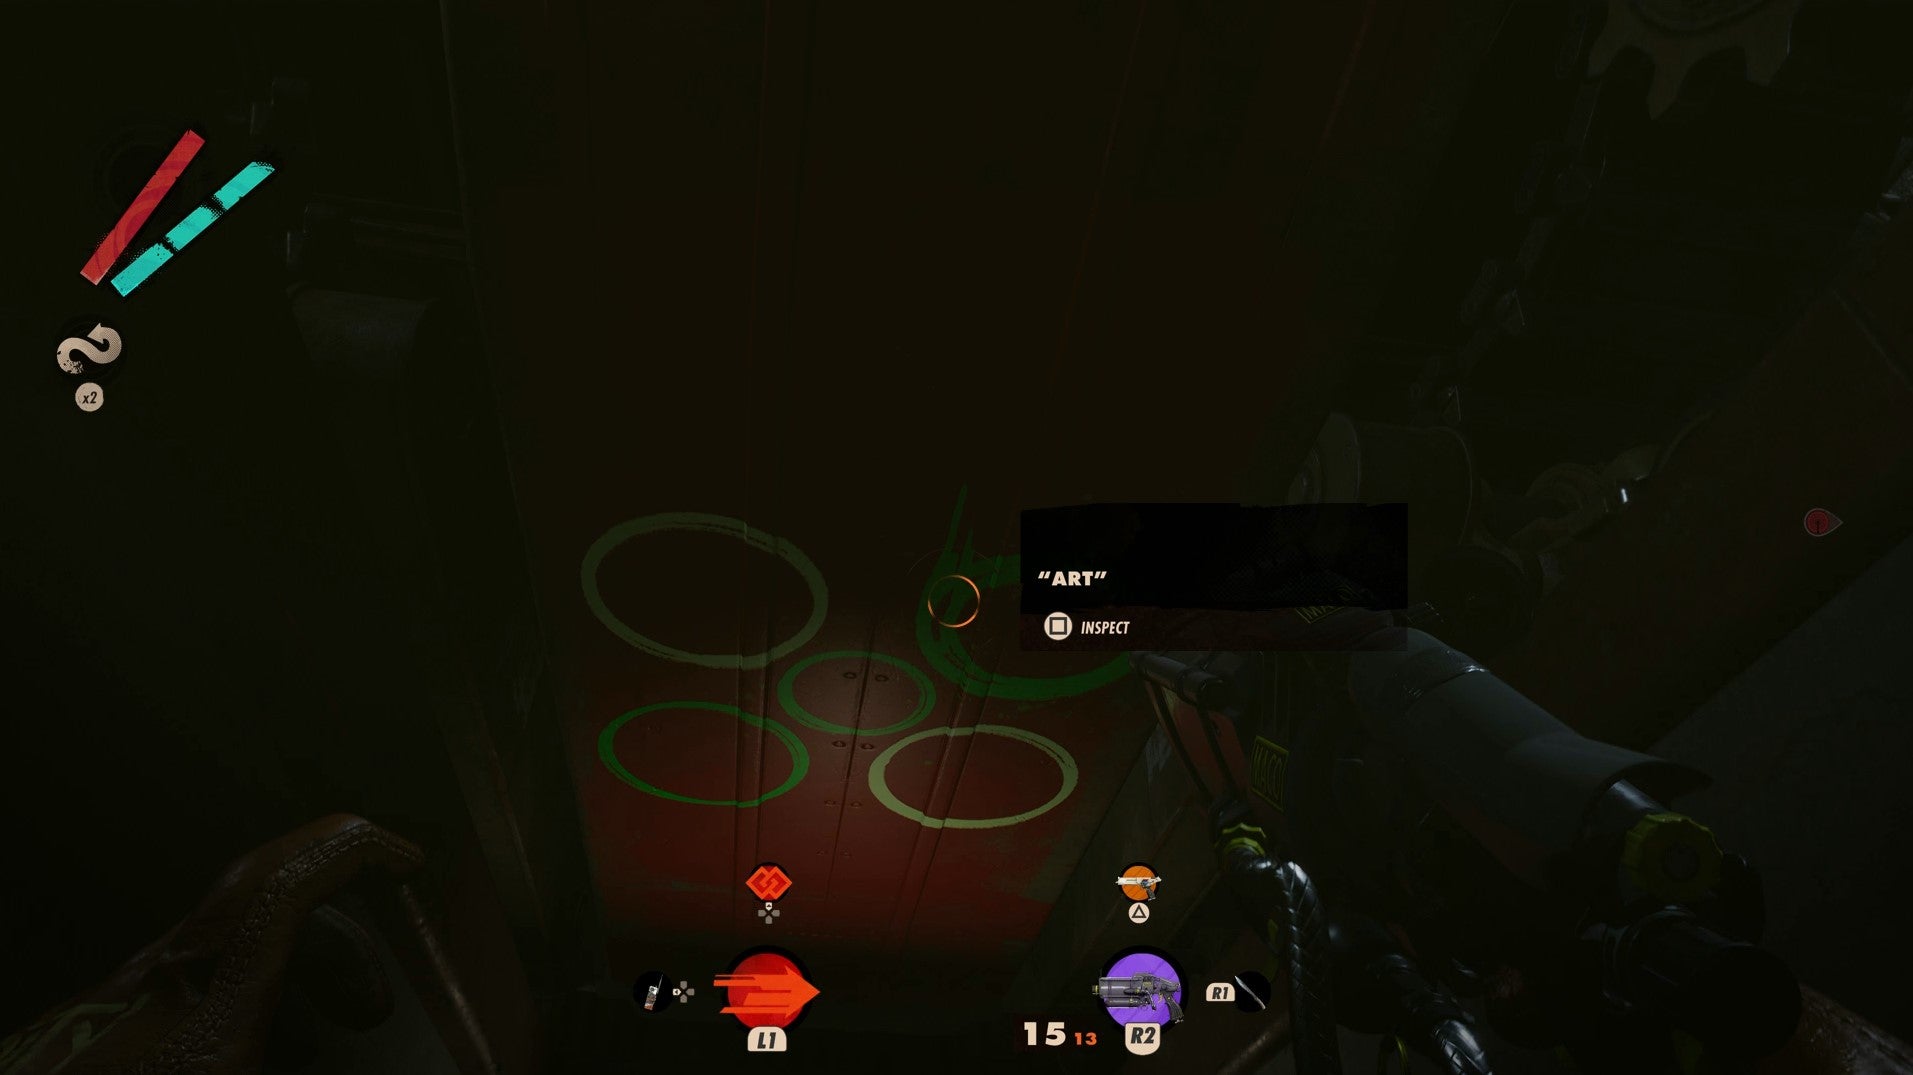
Go down the small set of stairs and you can see the painting on the underside of the vehicle.
With the four pictograms in your notes, you can return to the bunker next noontime and use them on the console lock.
What is the Bunker Cassette Door Code in Deathloop?Deathloop often randomises door codes and similar digits between players and playthroughs, so the actual numbers may be different for you.

The only way to work out the order of the cassettes is to try literally every single one, then write down which ones look right when you compare them to the symbols in your Visionary Leads menu.
My order was: 41, 35, 24, 11 - but as I say, it might be randomised.
With the right cassette code entered, you are free to explore the bunker, which you find can be flooded at the control center at the top of the area.
If you die in the water once you do, don’t worry - it only works like a normal death and not like if Fia exploded you with a nuclear reactor.
This secures what you’re doing in the afternoon of your final loop, and frees you up to work on new leads.
For some ideas on where to go next, take a look at our Deathloop guide for Visionary walkthroughs and side quest solutions!ncG1vNJzZmivp6x7t7ORbW5nm5%2BifKWxwK2fpaefpXqntcBmp6KbpKS0s63MZpifrJWnu7C7zWabnqSZnLW1